
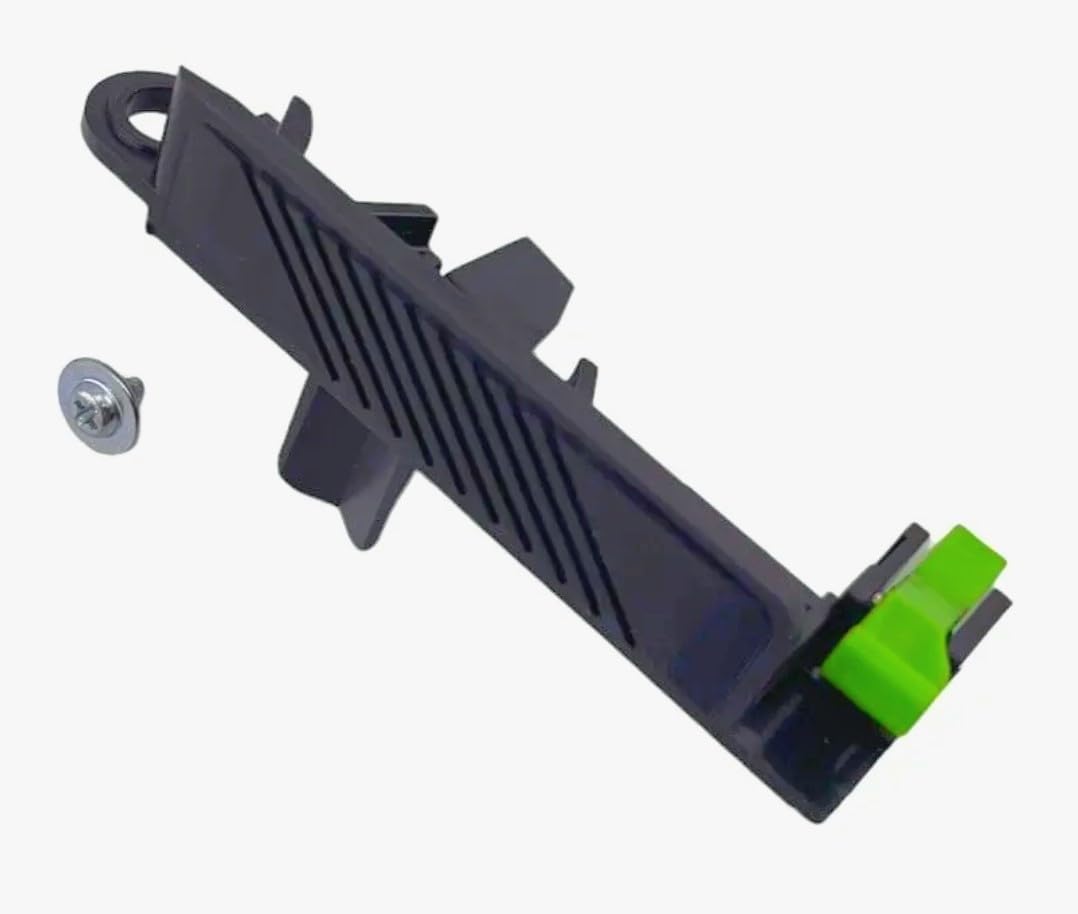
If your Roomba’s cleaning head module keeps popping open mid-clean, the culprit is often a worn or broken door latch. This genuine OEM door latch is designed to secure the module’s lid, ensuring dust and debris stay contained during operation. It fits a wide range of Roomba models, from the i-series (i1 through i9) to the j-series (j7, j8, j9, j10) and even the e5 and e6, including their Plus+ variants. While it’s a small, unglamorous component, it can be the difference between a functional robot and one that scatters dirt back onto your floor.
In real-world use, the door latch is one of those parts you never think about until it fails. The cleaning head module—the part that houses the brushes and suction path—has a hinged door that you open to remove tangled hair or debris. The latch holds that door shut. Over time, repeated opening and closing, plus the vibrations of daily cleaning, can cause the latch to crack or lose tension. When that happens, the door may pop open during a cycle, causing the robot to lose suction and potentially spread dust. Replacing just the latch, rather than the entire module, is a cost-effective fix that takes only a few minutes with a small screwdriver.
This latch is a genuine iRobot part, which means it matches the original specifications in terms of material, dimensions, and fit. It’s made of durable plastic that should withstand the same wear as the original. Installation is straightforward: remove the old latch by unscrewing the single screw that holds it, then attach the new one. No special tools are required beyond a Phillips-head screwdriver. The part is compatible with a broad range of models, but it’s always wise to double-check your specific model number before ordering, as iRobot has produced many iterations of the cleaning head module over the years.
One limitation is that this is a small, easily lost part. If you’re not careful during installation, the screw or the latch itself can go missing. Also, while the latch is OEM, it’s not indestructible—if the module’s door hinges are also worn, a new latch may not fully solve the problem. In some cases, the entire cleaning head module may need replacement. Additionally, this part is not compatible with older Roomba series like the 500, 600, or 700 series, which use a different latch design. So if you have an older model, this won’t fit.
Compared to aftermarket latches, which are often cheaper but vary in quality, this OEM part offers a more reliable fit and finish. Aftermarket latches might require slight modifications or wear out faster. However, if you’re on a tight budget and don’t mind a bit of DIY, a third-party latch could work as a temporary fix. But for a long-term solution, the OEM part is generally the safer bet. It’s also worth noting that some users have reported that the latch can be tricky to align during installation, so patience is key.
This latch is suitable for DIYers who are comfortable with minor repairs and want to extend the life of their Roomba without buying a whole new cleaning head module. It’s also a good option for those who have already replaced other parts and want to keep everything OEM. On the other hand, if you’re not handy or if your Roomba is still under warranty, you might prefer to contact iRobot support for a replacement module. Also, if your robot is older and the plastic has become brittle, replacing just the latch might be a short-term fix before other parts fail.
In terms of performance, expect the latch to function like the original—holding the door securely until you intentionally open it. There’s no noticeable difference in noise or cleaning efficiency; it’s purely a mechanical fix. Just be aware that if the door itself is warped or damaged, the latch alone won’t create a perfect seal. In that case, you might need to replace the entire door or module.
Overall, this OEM door latch is a practical, no-frills replacement part that solves a specific problem. It’s not exciting, but it’s essential for keeping your Roomba running smoothly. If you’ve diagnosed a broken latch, this is the part to get. Just make sure it’s the right fit for your model, and handle it carefully during installation.